Step 1: First you should tape off the edges of your canvas. You do this so that the edges do not frey, this will prevent you from losing space that you may want later when you frame. Note: This is a good time to also seperate you string into separte colors if you purchased a kit. I suggest using a color wheel that is numbered so that you can keep track of what each color is. These can be purchased or you can make one at home with a piece of stiff paper or cardboard. Just punch holes into it and number them. Then number the colors on your color sheet so that you know which color goes with each number.

Step 2: Next you will want to find the middle of your canvas. You will use this as your starting area. To find the middle fold your canvas in half then fold in half the other way. Place your neddle in the hole closet to the middle fold.
Step 3: Place your canvas inside of your stitching ring (Ring is optional but for beginners it is helpful). Note: Rings come in various sizes so make sure to pick one that gives you plenty of room to stitch but is not too big for your canvas.
As you tighten the ring onto the cavas you will want to stretch your cavas so that it is not loose. Note: Either keep your neddle in the middle hole or strecth it a little by wiggling your neddle around. This will keep your place while you place your canvas in the ring.

Step 4: Now you will want to pick a color to start your stitching. I suggest picking a color that is close to the middle to avoid alot of counting in order to start. Once you have picked your starting point string your needle.


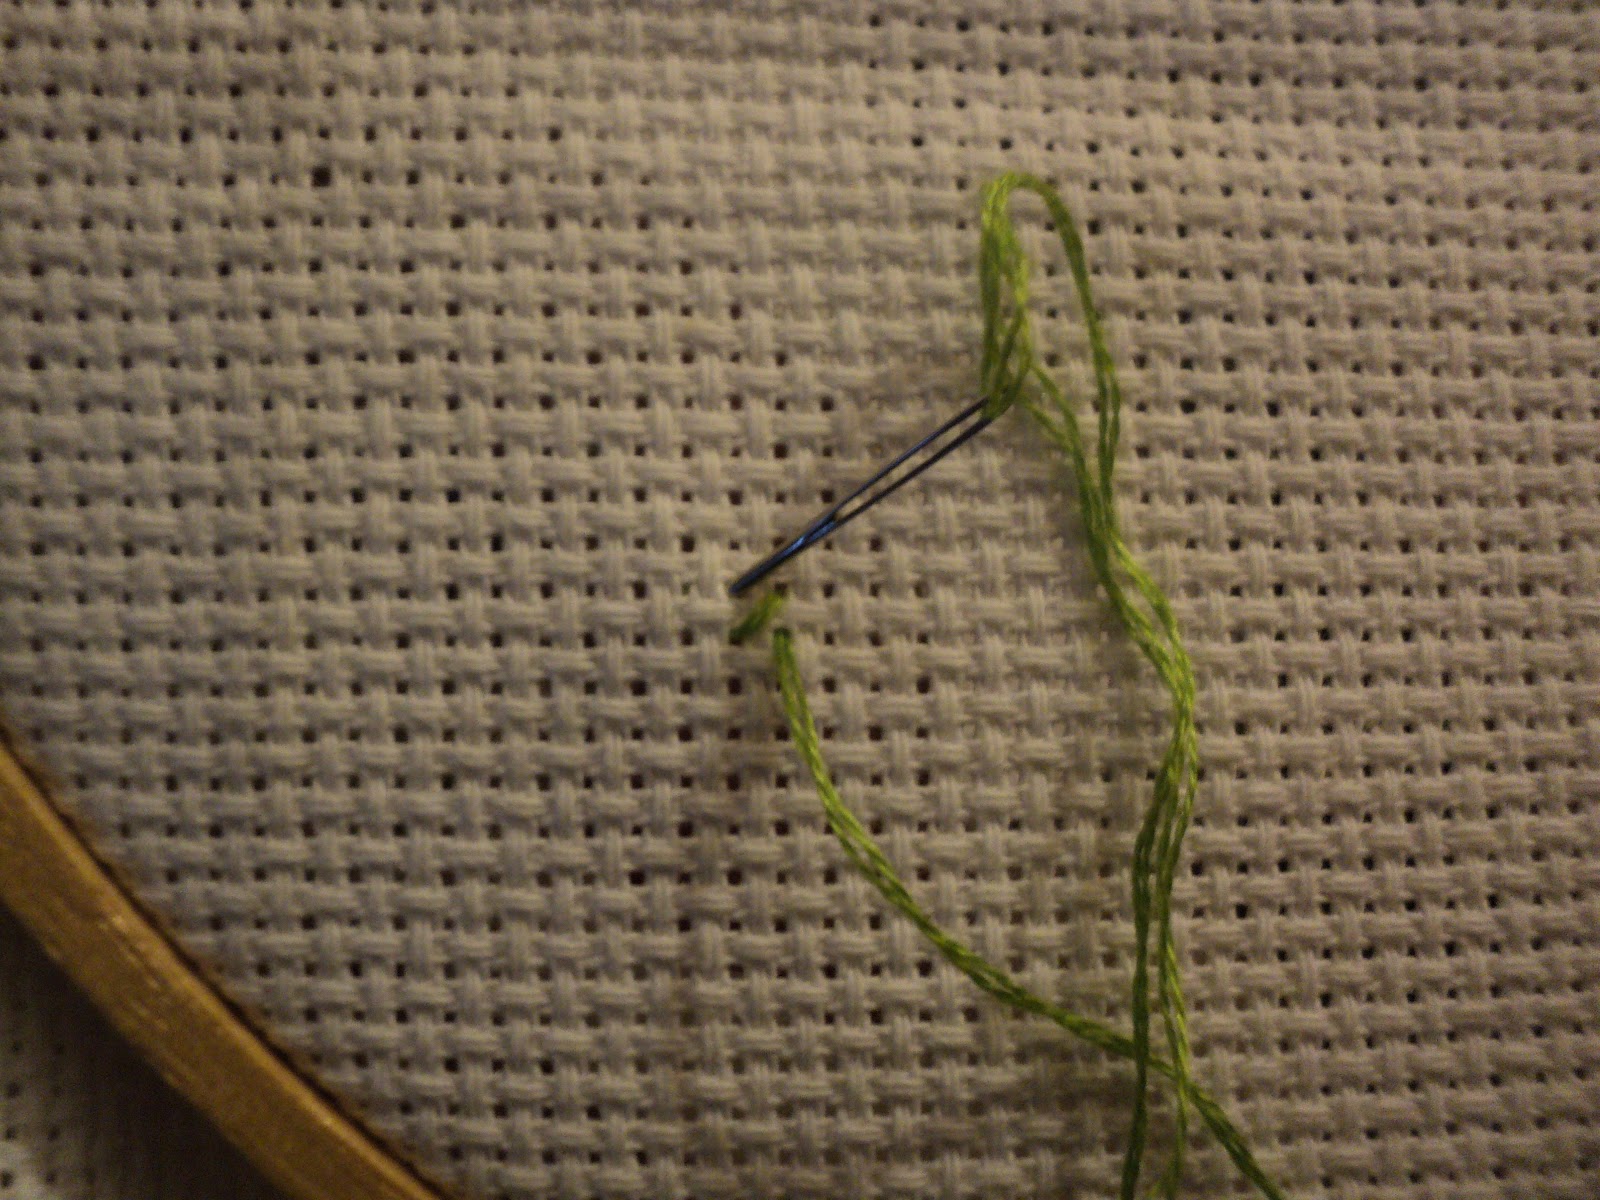
Step 5: Count over from your middle to where you want to start your first stitch. Push your neddle up from the bottom, work diagonally and push needle down through your canvas. Do this again in the opposite direction to make an x. As you work your stitches make sure to work over the top of your excess string on the back of the canvas. This will hold it in place so that you don't have loose ends. Also when you reach the end of a string work the rest through part of your stitching on the back to tie off. This makes it so that you don't have to worry about knots. Note: Make sure that your stitches are lapped in the same direction for all of your x's.


Step 6: Follow your pattern and place all your stitches for this color. You may need to move your ring around to access all the areas where you will use your first color. Once you complete one section of your color simply look at your pattern to find another section using the same color and count boxes over to that section. Then count that many squares on your canvas and start your stitches there.
Here is my first completed color. Note: As you work you will have rings and lines on your canvas but when you have completely finished you can iron and/or stretch your canvas to remove the creases for framing.

No comments:
Post a Comment