Pages

Thursday, December 27, 2012

Lightly Coated Chocolate Covered Pretzels

We had left over Chocolate Almond Bark from making the Chocolate Covered Oreo Balls so we decided to make some Chocolate Covered Pretzels as well. Now I don't know about you, but I like to have my pretzels with a lighter covering of chocolate, so this was perfect for us. 


What You'll Need
1 bag Pretzels
1 Package Chocolate Almond Bark


Any type of pretzel you prefer is fine, I went with the mini twist style


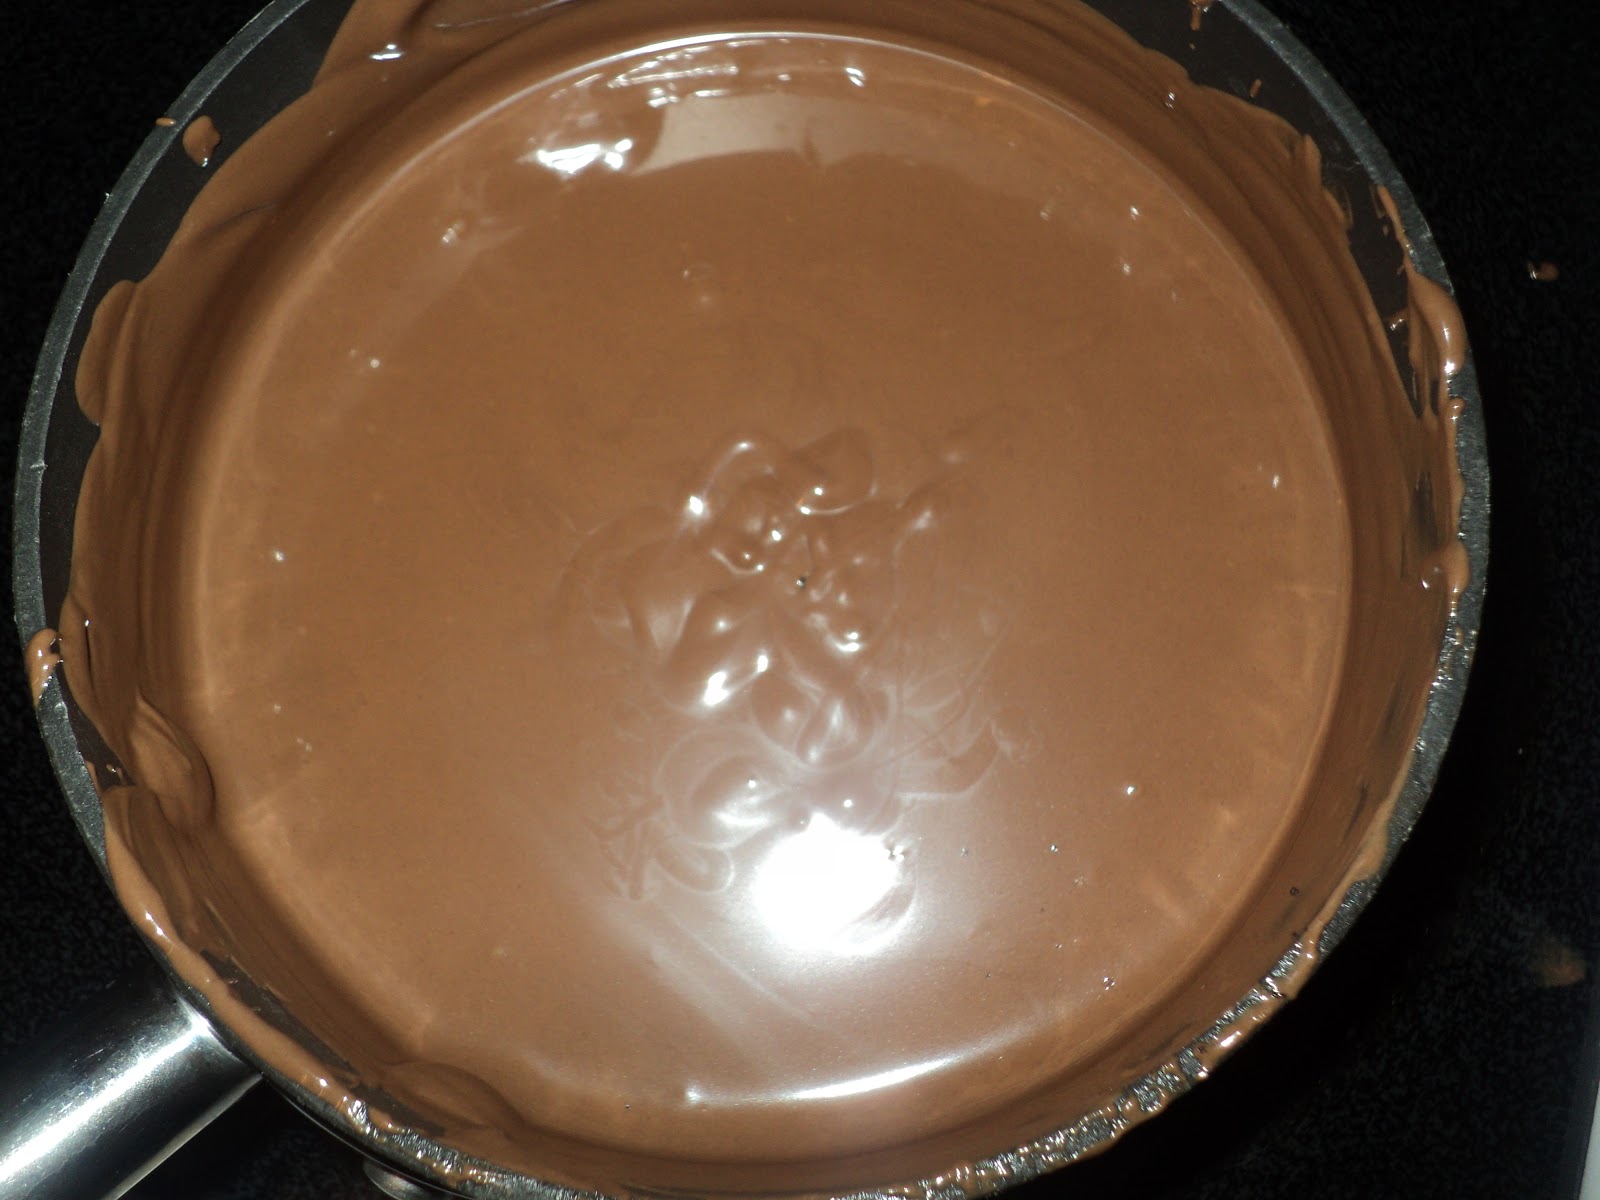
Melt the Almond Bark in a small pot.
We actually just used the leftover Chocolate from our previous treat making of Chocolate Covered Oreo Balls, you can find that recipe here as well.

If you choose to go with strongly coated pretzels then you will need a good amount of Almond Bark, just dip the pretzels in the chocolate and remove. 
Since we only had a small amount of Almond Bark left over I poured a controllable number of pretzels into the pot and stirred them, getting a thin layer of chocolate on some and a thicker layer on others.


I then put the pretzels into a large bowl and repeated the step above until all the Almond Bark was gone.
Then in the large bowl I mixed all the pretzels for a few minutes. 
This caused all the pretzels to have a more even layer of chocolate.


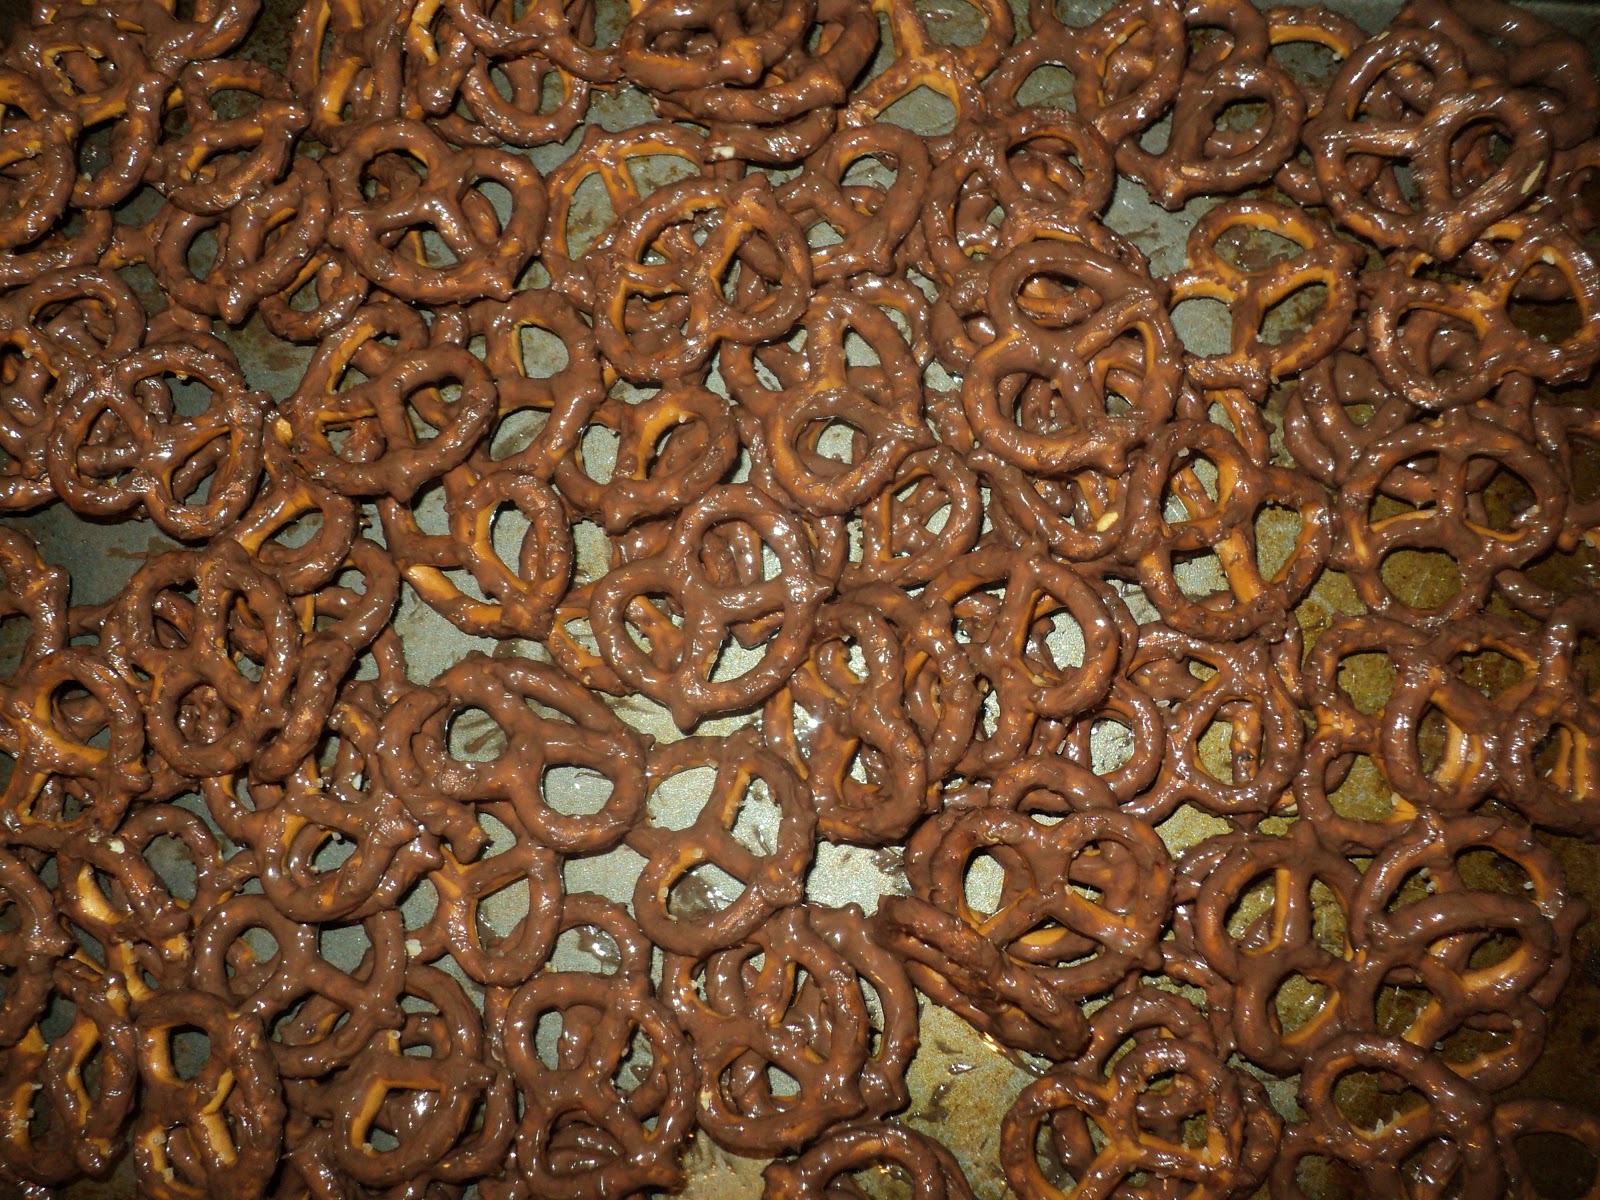
Lay the pretzels on wax paper or as I did grease a baking sheet and lay them on that to dry.
If you use a thick layer of chocolate it is better to make sure that the pretzels have their own drying space so make sure to separate them a little. 
Since mine had a thin layer I was not worried about them sticking to each other so I just laid them out overlapping each other, then separated them as I put them on the serving tray. 
There were some that were stuck to each other pretty good, so I just left those doubled up.

This is a great treat of New Year's Eve, I especially like the thin layer of chocolate because then they are not as heavy or sweet. I also think it makes them a better finger food with the thin layer. But that's just my opinion.

Hope you all enjoy the treats!

Chocolate Covered Oreo Balls

Whether you're looking for a yummy, sweet treat for a holiday party, family gathering, pot luck or just to satisfy your sweet tooth at home, 
Chocolate Covered Oreo Balls will fit the bill.
These are also a fun treat to make with the kids.


 What You'll Need
1 package Oreo's (off brands are OK too)
1 package Cream Cheese
1 package Almond Bark Chocolate

I also tried using Peanut Butter Oreo's, they tasted good however they are a little greasy because of the extra oil from the peanut butter, I would suggest using less cream cheese.


Start by placing the entire package of Almond Bark Chocolate into a small pot and begin melting on the lowest heat setting. Make sure to stir frequently to avoid burning the chocolate.


Using 1 whole package of Oreo cookies,
I started by crushing the cookies in a bowl, I did it this way for a combination of reasons, 1 my food processor is fairly small so I couldn't fit many full cookies in at a time and 2 it was fun to let the kids try to smash them.
 Once the cookies are broken into manageable pieces, put them into a food processor. If you have a large enough food processor you can eliminate this step by using the processor from the onset.


Grind the cookie pieces up into a crumbly, powered consistency. Then put this into a large bowl for mixing.

Add 1, 8 oz package of Cream Cheese. Cream Cheese should be room temperature making it easier to work with.
Blend Cream Cheese and Cookie crumbs together, using either a spoon or hand mixer.
We used a spoon for the regular Oreo's but had a harder time mixing the Peanut Butter, so we used a hand mixer for those.


Once thoroughly mixed start making the mixture into little balls.
We choose to make them about the size of a quarter around.
They are very sweet so we choose to go a little smaller, however I have had them about the size of a silver dollar around and they were good that way as well.


After forming into a ball dip in the melted Almond Bark.
Once coated with chocolate place on wax paper.
We were out of wax paper so I coated a glass baking pan and placed them inside of that for drying.
 After they are dry removed the Chocolate Covered Oreo Balls from wax paper and place on serving tray of choice.


Update

I'm sorry that I have not posted anything new lately. I had a grandmother that passed on Dec. 13th, so I was not around for a while. After all that commotion was over, there was the excitement and busyness of Christmas. Again I would like to apologize to all my loyal followers for not being here to add anything new. However I am going to be adding a couple new things today, also if you didn't notice I did update the cross-stitch in progress post, and will be doing so again tomorrow/today(late evening). I am down to only a few colors left, then will start the outlines. I'm very excited to be done with it, even though I've loved working on it, long projects like that get very tedious after a while for me. If there's no new posts above this one check back in a few hours to see what's new.

Thanks and I hope you all had a wonderful Christmas, and will have an amazing New Year!

Sunday, December 9, 2012

Teaching Kids to do Household Chores

It can be a difficult task to get children to help with household chores. The best advice I've ever gotten was to start sooner rather than later. How can you expect your teenager to do chores, if they have never had any responsibility before hand. Getting your kids involved in helping with chores around the house, not only helps to reduce some of your work load, but will also help them to keep a clean house when they are grown and on their own.

Personally I started all of my children when they were babies, before they were even able to actually crawl or do much of anything on their own. For instance, if it was tummy time and we had a few toys laying on the ground for them to try to scoot and reach for, when play time was over I would pick up the baby, take their hand in mine and pick up the toy. While doing this I would say "Okay, it's time to pick up your toys" or "Put your toys in the toy box". The combination of action and instruction helps children to understand not only what they are doing but why they are doing so.

Once your child is a little older you can start giving them more things to do. For instance my two year old helps his older brother take out the trash. The responsibility of the kitchen trash belongs to my older son, 11, he is to take the trash out of the can, tie it up, take it to the dumpster, then put a new bag in the can inside the house. My younger son is responsible for the bathroom trash, either myself or my older son will remove the bag, tie it up and replace it for him, when his big brother takes the kitchen trash out, he takes the little bag from the bathroom trash out. This helps him to learn how to take care of the trash and as he gets older he will then be responsible for removing and replacing the bag as well.

My daughter, 5, and my son, 2, will both help with dusting and cleaning up walls and tables. I personally do not like young children using cleaning products that are stock full of chemicals. To avoid that problem I have old cleaner bottles that I have thoroughly rinsed and cleaned, I then fill them with clean water, I will occasionally add a little bit of dish soap to the water as well. Just give them each a spray bottle and rag, tell them what to clean up and let them have fun.

I will also let the kids help with dishes, I have a dishwasher but they have fun washing dishes, so I allow them to practice washing dishes before putting them in the dishwasher. If you do not have a dishwasher you will most likely have to go over the dishes again yourself, but this is a good activity for children to do while you are busy cooking. Just give them a chair or stool to stand on and have them clean dishes as they get dirty from your cooking.

Laundry is another chore that kids can help with. I have found that towels are the easiest for children, so usually have the smaller children help with those. There are many times that I have to refold any towels or clothing that the kids help fold, but really it doesn't take any more time for me to refold than to fold from the beginning. This is a great chore for helping to develop small motor skills as well.

Another thing that young kids love to do is vacuum. This can be hard for very young kids as most vacuums are fairly large and heavy for little ones. The perfect solution is to get a small vacuum, such as a three-in-one. These are small, come with an extendable handle that can be left in the down, storage position and come in handy as a hand held dirt devil type of vac as well. With a small vacuum such as these your child can enjoy helping vacuum and you can enjoy having a cleaner floor without the hassle of pulling out the big vacuum everyday.