One day I suddenly recalled that a childhood friend of mine had this totally cool hammock in her room for her stuffed animals. So the search was on. Now, I do buy some things off of the internet but I also try to support my local businesses by purchasing products locally. However after searching every store in town and several of the big name chain stores in the surrounding area I was unable to find even one of these hammocks. That was a pretty big disappointment.
Here I was thinking I had found the perfect solution to my problem and then it's a no go. After much thought I realized that during my search I had run across several different styles of the mesh laundry bags. Since these can be very inexpensive I decided to buy one and see if I could somehow make my own stuffed animal hammock. Luckily it was a success and this is how I did it for under $3.00.

Remove the mesh laundry bag from the package.

Remove the handle (tag) from the side. At first I tried cutting the stitches to remove the tag but found it was much easier and no less appealing to the eye to just cut the tag itself off. Just be sure that you make your cut as close to the mesh bag as possible without cutting it.

Once the tag is removed find the seam on the side of the bag. I chose to start on the side where the strings come out of the string loop. Use the line of holes closest to the seam as a guide.

Cut along the length of the seam. You can cut down the whole length but I chose to leave about 1 inch at the bottom of the bag intact. This helps to add a little extra strength and a bit of a pocket that holds larger stuffed animals better.

Remove the string. This can be done before any cutting is done but I did it after I cut the first seam.

Now find the dotted line on the opposite side that is closest to the seam.
Once again cut down the length of the bag.

If you leave a portion of the seam intact like I chose to do,
be sure to do the same with the other side as well.

Taking both ends of the string that was removed from the bag earlier, find the center of the string.
Cut the string into two pieces.

Next restring the hammock. Do this by using an old metal clothes hanger or long piece of wire as a stringer. Insert the hanger or wire all the way through the string loop on one side of your hammock. Once your hanger is fully inserted through to the end of the string loop, tie one piece of string to the end of the hanger.
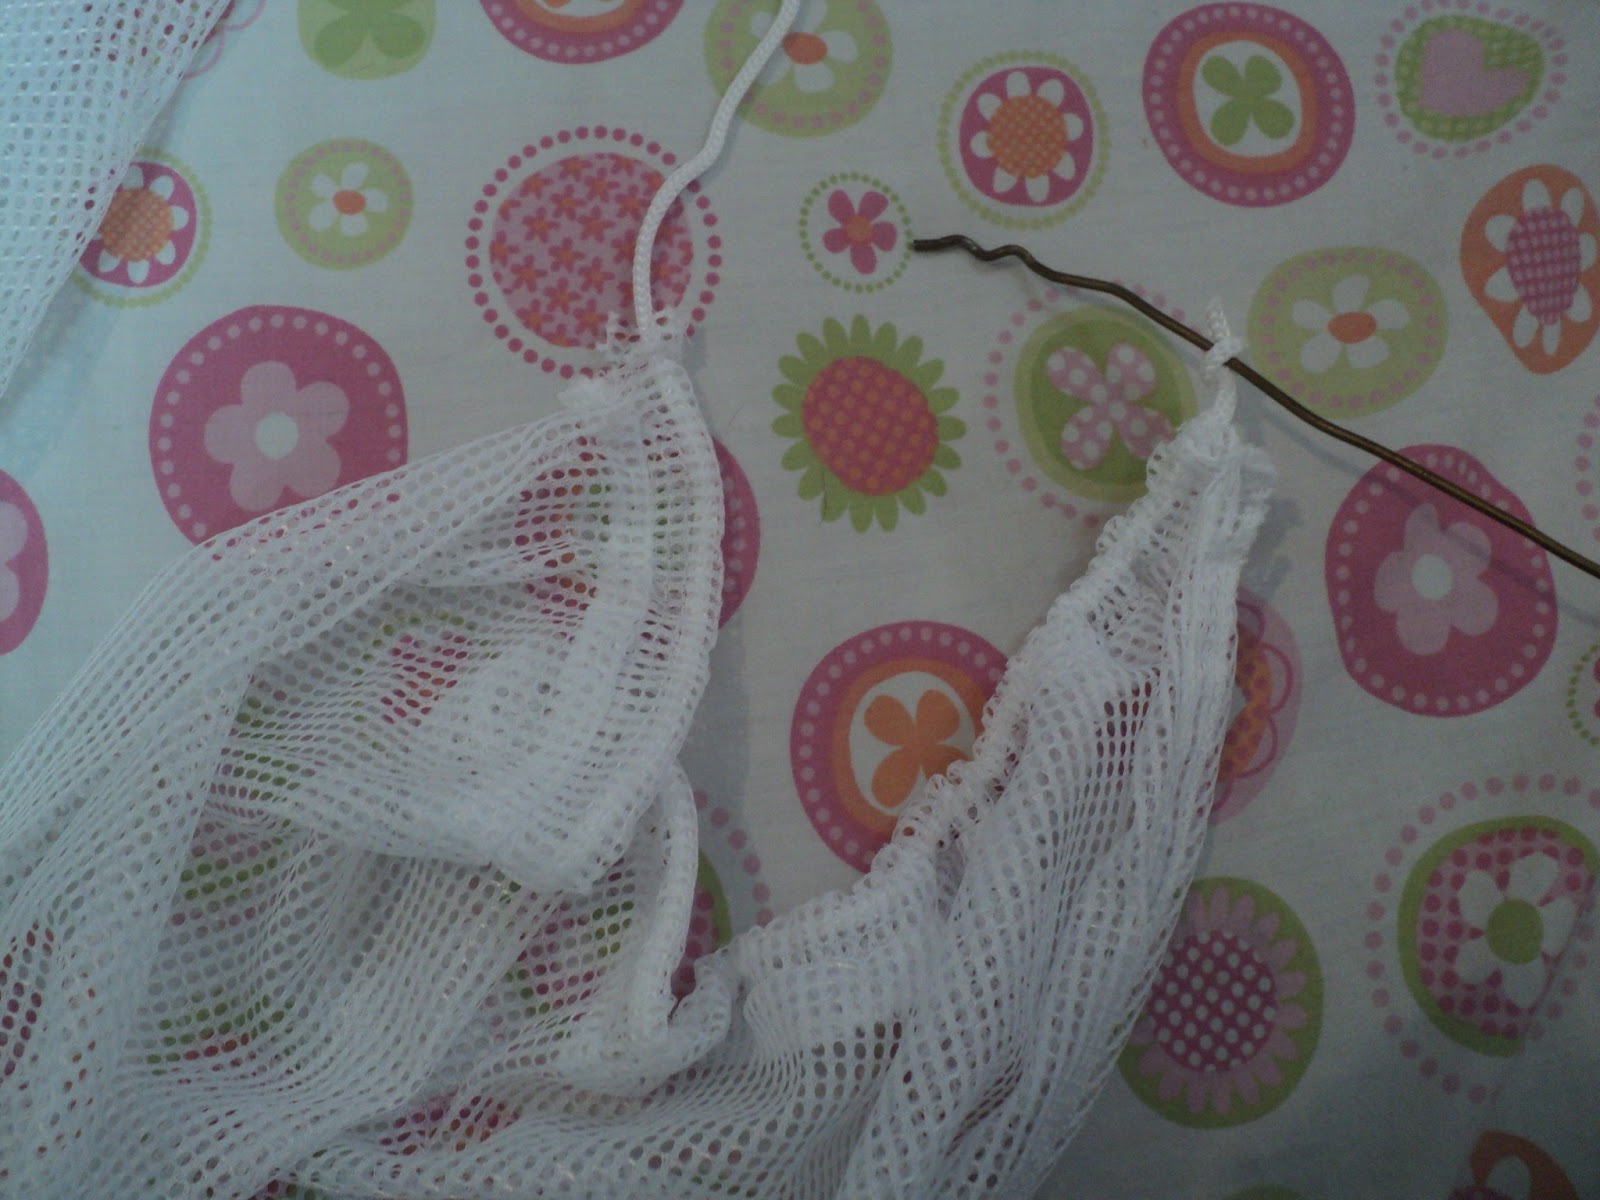
Then slowly pull the hanger with attached string back through the string loop until only the string is left in the string loop. Be careful not to go to quickly or the string may fall off of the hanger or you may rip the mesh.

Take both ends of the string and tie them together in a tight knot. Then repeat all of the above steps for stringing to string the other side of your hammock.

Choose where you want to hang the hammock. Unfortunately this room in my house only has two corners and both of those are at the head of the kids' beds. I didn't like the idea of hanging something like this over my children's heads just in case so I chose to hang it over the window (good thing because after hanging it I discovered that this was the only area where there was enough space to hang it).

I used plain screws to hang my hammock and have had no problems. However I would advise against using nails for hanging since they would run more of a chance of getting pulled out of the wall. If you want to use something that is a little more appealing to the eye, use screw in wall hooks. These can be purchased at practically any retail or hardware store for very little cost.
After making this piece I decided to break down and search the internet to find out if these types of hammocks were still being made and if so approximately how much they would cost. From what I have found they can range between $12 and $75 depending on the style and maker. However I am very happy with the results especially when I consider that I paid less than $3 to make one myself.
Thanks for stopping by, I hope you enjoyed my latest project.