If you have any old shirts just laying around, whether they no longer fit quite the way you'd like, they are no longer your style, or they have become stained or ripped, think twice before you toss them in the trash. This is the first of a few different projects that I have planned for some of those old shirts of mine that are no longer useful to me in their current state. Follow along with the pictured instructions below to learn how you can easily and inexpensively make your own cleavage cover ups out of old shirts.
1. First things first. Find a shirt or three or four that you would like to use. Make sure that you choose colors that will go well with the shirts that you will be using your cover ups with.
2. Next you need to measure the distance between your bra straps. If you do not have measuring tape designed for sewing, improvise and use the measuring tape in your tool box or even a ruler will work. When measuring you will need to be wearing your bra and measure from the outer edge of one strap across to the outer edge of the opposite strap. For me that came out to 9 1/4 inches.
3. Then measure the distance from where you would like your cover up to sit on your chest to the bottom of your bra in the front. I suggest using a starting point on your chest that is higher than you may actually desire. Doing so will give you a little extra material to work with in case it is needed for a different shirt and will have no effect on the look of completed project. I ended up making mine 7 1/2 inches long.

4. Now that you have your measurements, lay the desired shirt on a flat surface and draw little dotted lines to mark off the amount of material you will need for your cover up.

5. I then chose to cut a block of the material from the shirt larger than the area I needed. I did this so that it was easier to cut along my lines than it would have been to work with a full shirt.

6. Cut along your dotted lines to make a square of material to the desired size. Instead of cutting the piece into a square you can also cut the bottom section so that it is slightly rounded. I chose not to do so in case I want to use the cover up with a shirt that has a larger opening in the front which would require a little more material to cover.

7. Next you will need to make straps for your cover up so that you can attach it to your bra. I decided to use the straps from an old tank top. However you can also use velcro or ribbon.

8. If using straps from an old shirt, bra or any other article of clothing that has straps, simply remove the straps by cutting with a pair of scissors.
9. I chose to cut the whole strap off so that I could save it for another project or to make multiple cover ups.

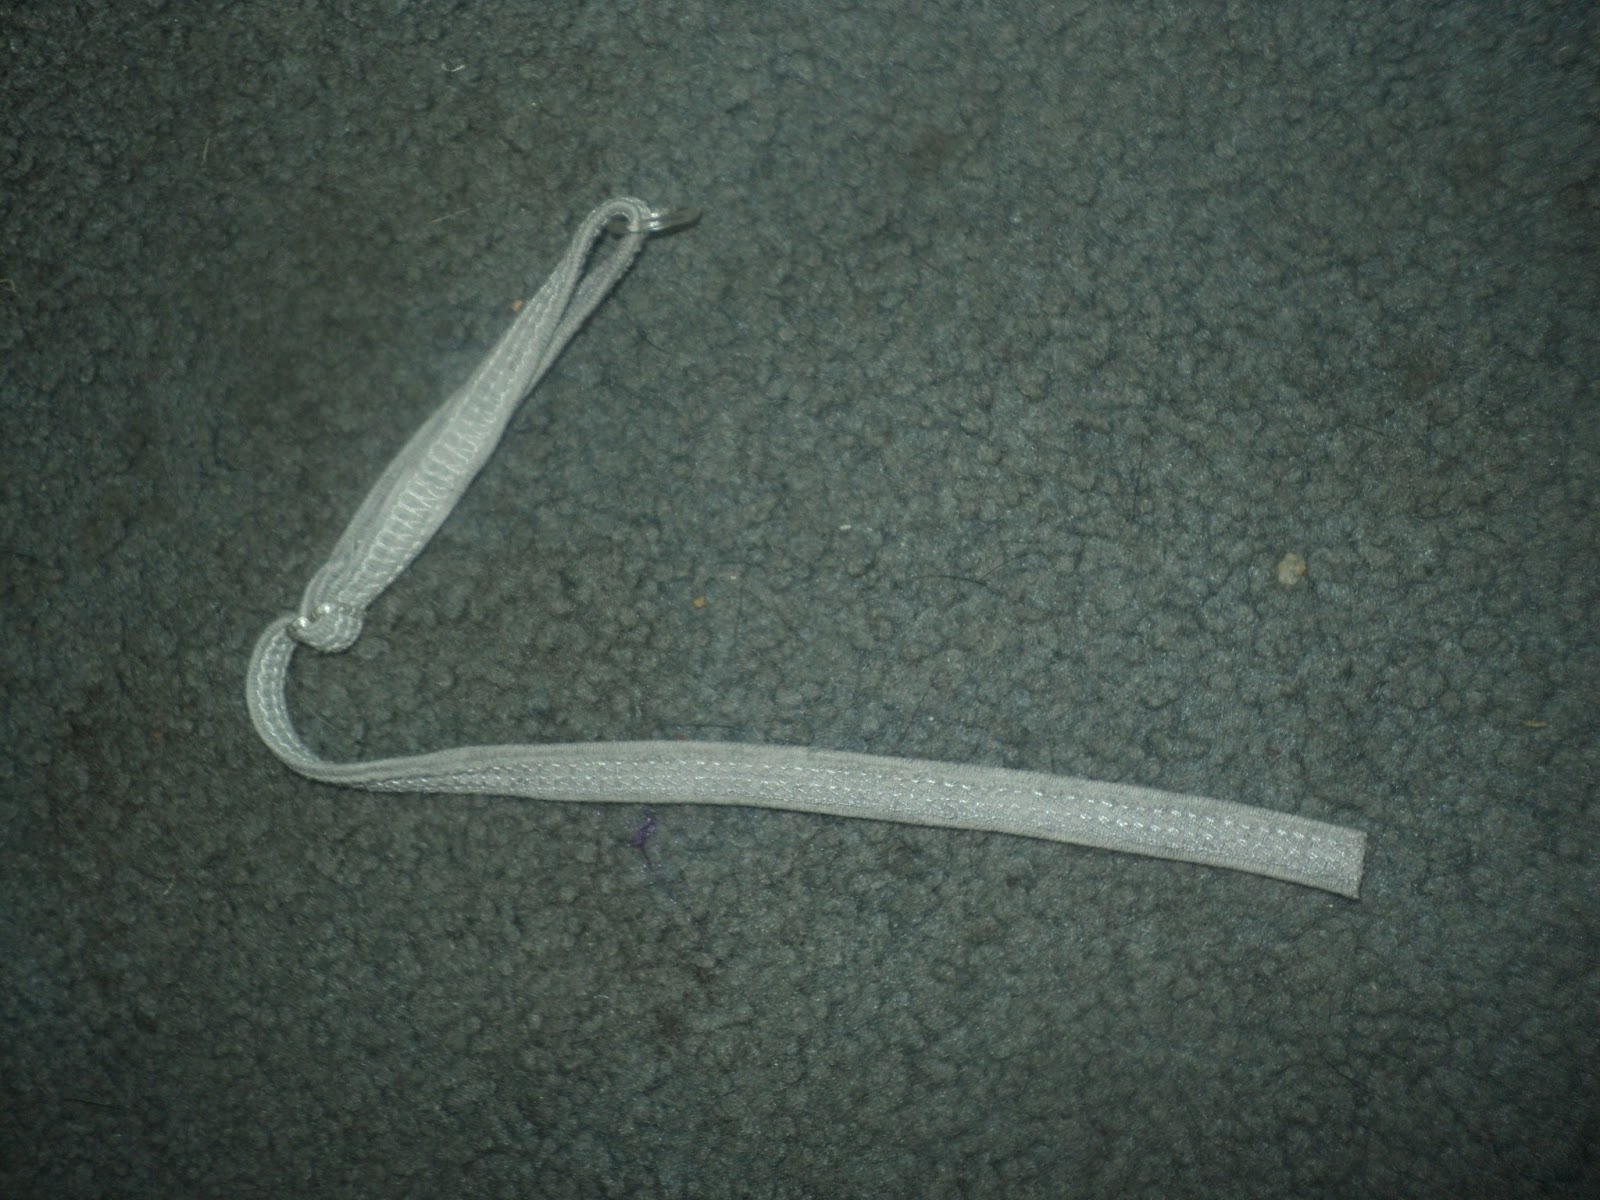
10. Remove any hardware from the strap. You may be able to use the hardware to make your cover up straps adjustable, however I have not taken the time to figure out how best to do this yet and it is not necessary.

11. Take the full length of strap you removed and wrap it around your bra strap. If you have bras with straps of varying widths, I suggest using your widest strapped bra for this measurement. Doing so will help prevent your bra straps from bunching and being uncomfortable.

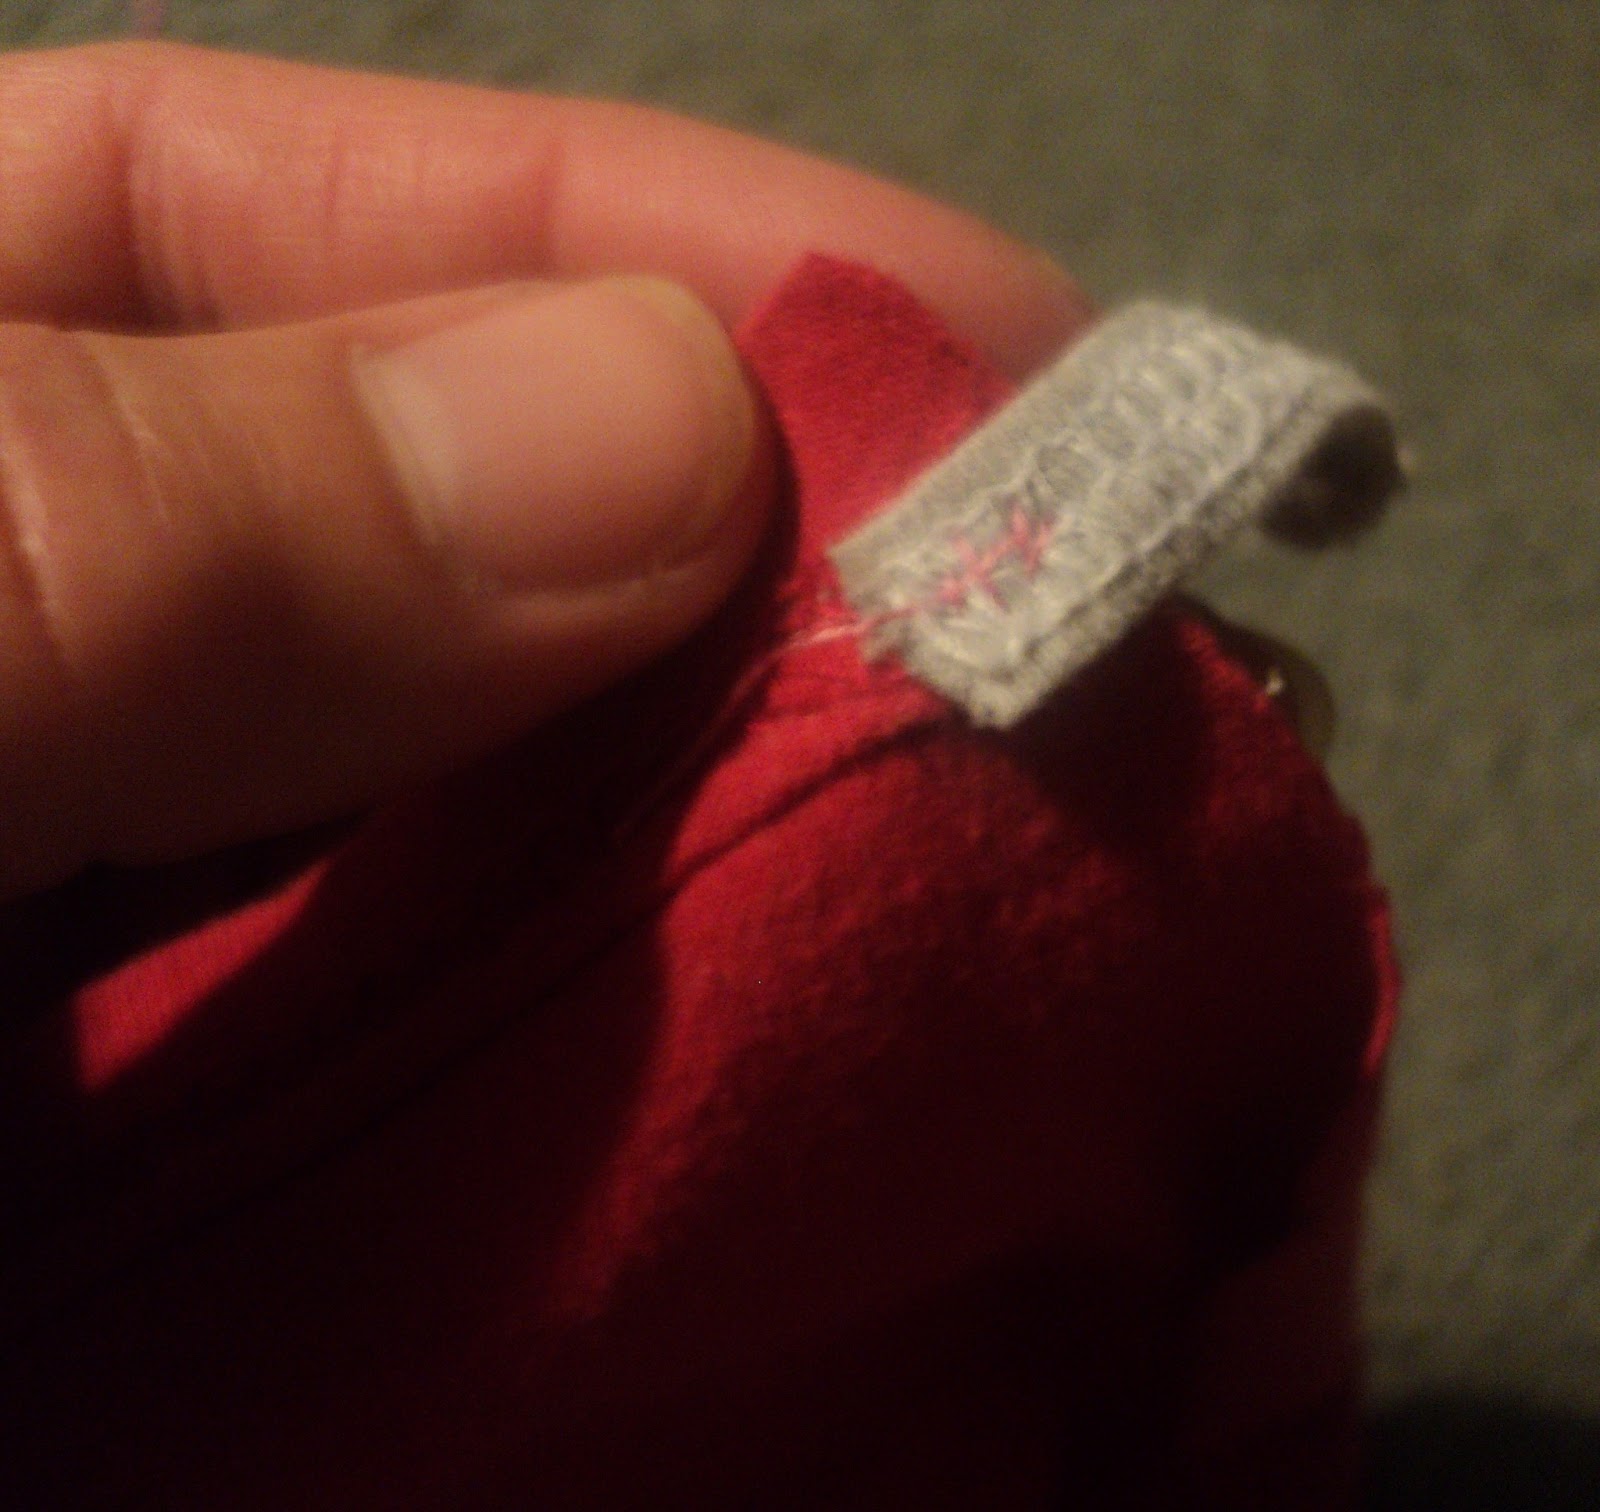
12. Now you will need to make a hole for your button. You can use sewing scissors, a utility knife or really any knife with a sharp point. Make sure that your button hole is not too large that the button will not hold, but large enough that the button can slip through the hole easily. You can also choose to make two button holes so that you can adjust how snugly it wraps around your bra strap.
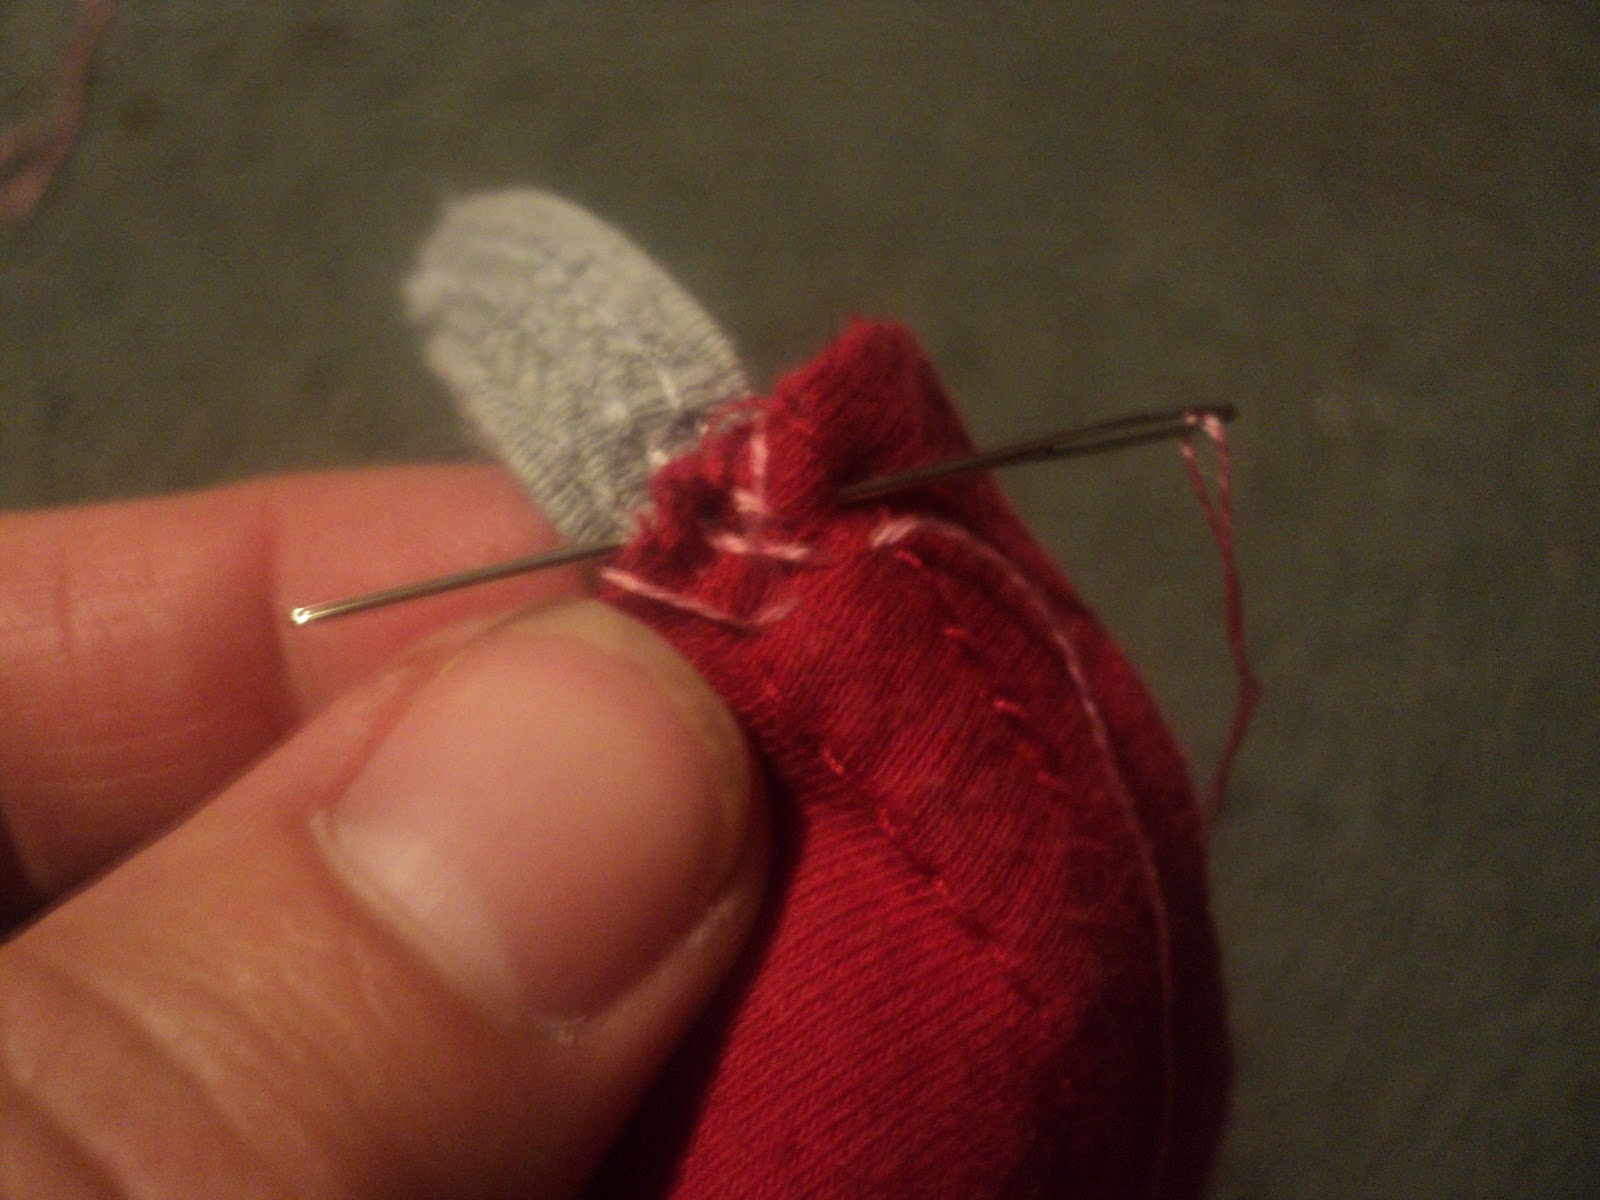
13. Using a needle and thread start attaching your strap to the top side of your cover up material. Make sure that you are attaching the unbroken side of your strap, or the side without the button hole.

14. Once you have gone over the loose end of thread a few times, slide your button onto your needle and thread and place it against the strap. Hold the button in place and attach it securely by weaving in and out of each hole within the button a few times. I went through each hole 5 times to make sure it was secure.
15. After you feel that the button is secure, end your stitch by weaving your thread through the front side of your material. I did this twice going first one direction then the opposite just to ensure that the end of my thread did not come lose and cause my stitching to come out.
Note: As you can see from my stitching I am not terribly skilled at stitching by hand. Since this section of the material will be covered by your shirt it is not necessary for it to look overly pretty.
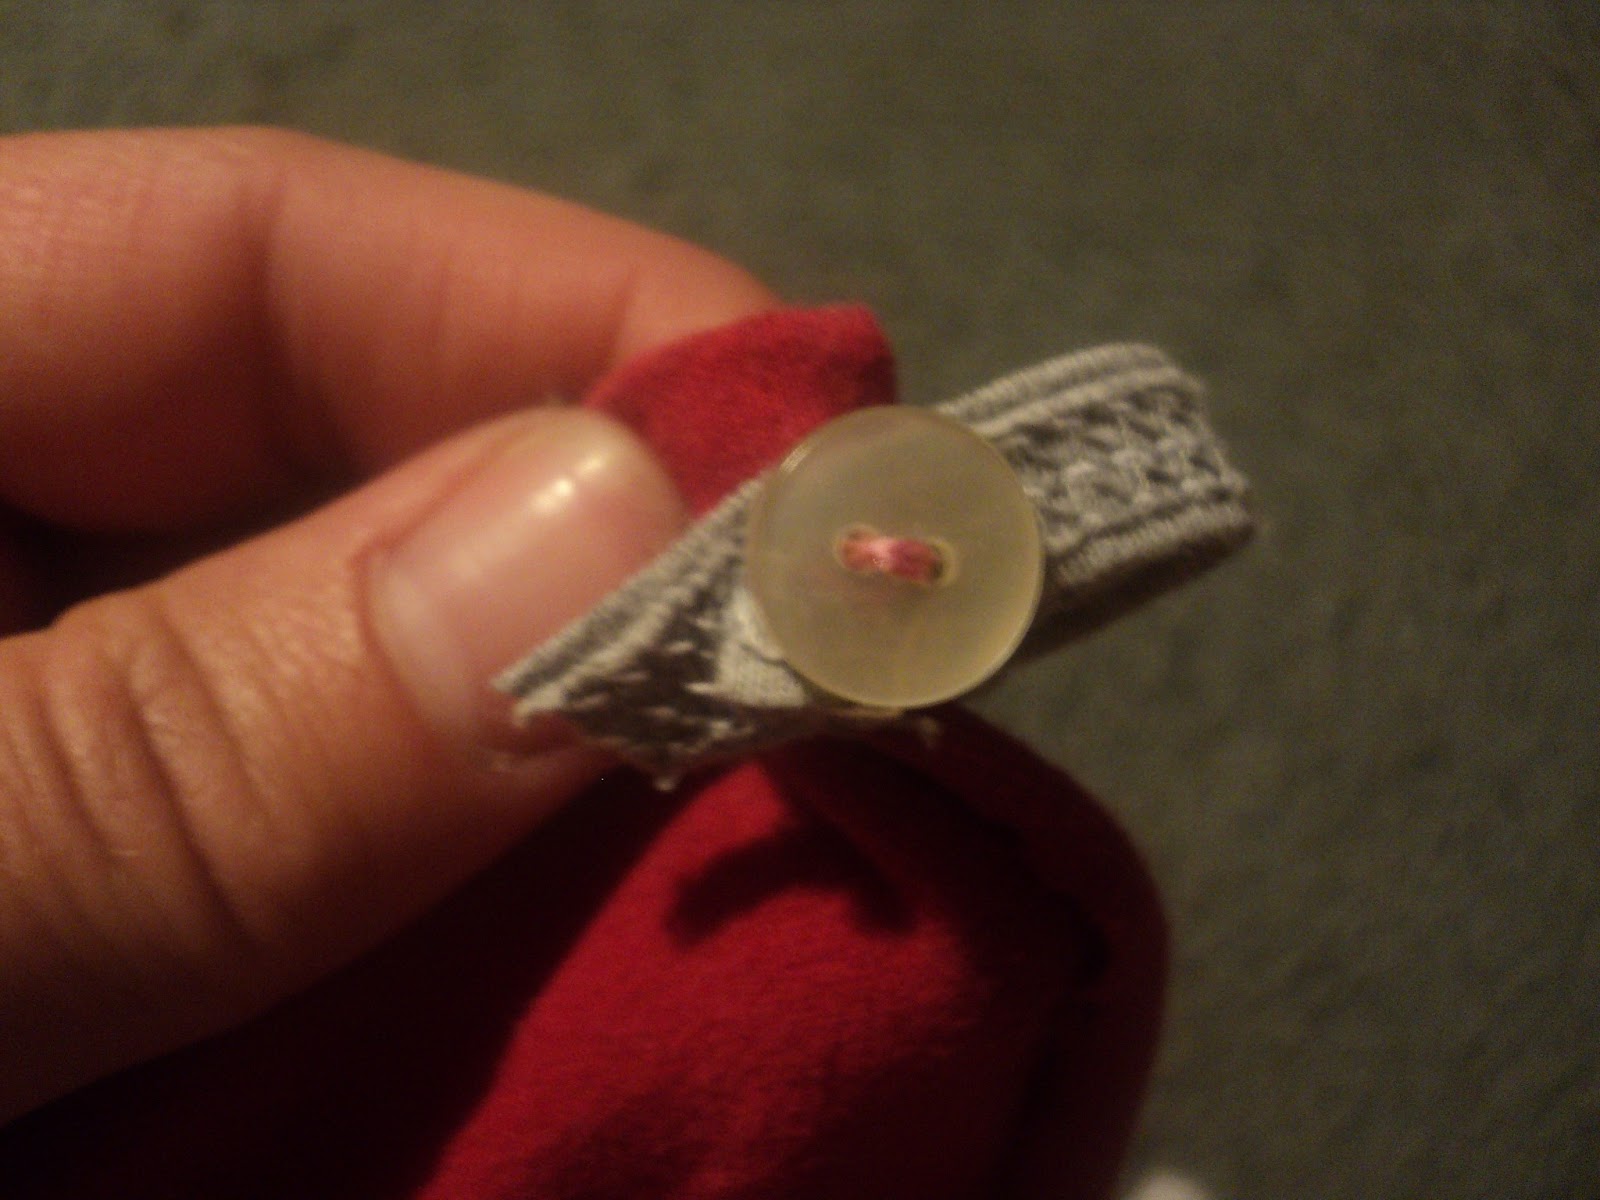
16. Now your strap is complete. All you need to do to attach it to your bra is wrap it around your bra strap and secure it by slipping the end onto the button.
17. Once you have the cover up attached to your bra simply put your shirt and adjust your cover up to the desired height. You can let the bottom of the cover up hang or you can tuck it into your bra for a little extra sense of security. Below are a few pictures of the cover up at different adjustment heights.
18. There is no need to sew the edges of your cover up but if you are proficient with a sewing machine and have one available you can chose to do so. There is no need to make adjustments to the beginning measurements if you do chose to sew the edges.
19. If you do not sew the edges they may curl after washing. To help prevent this, lay the cover up on a flat surface and lay a towel over it to dry.
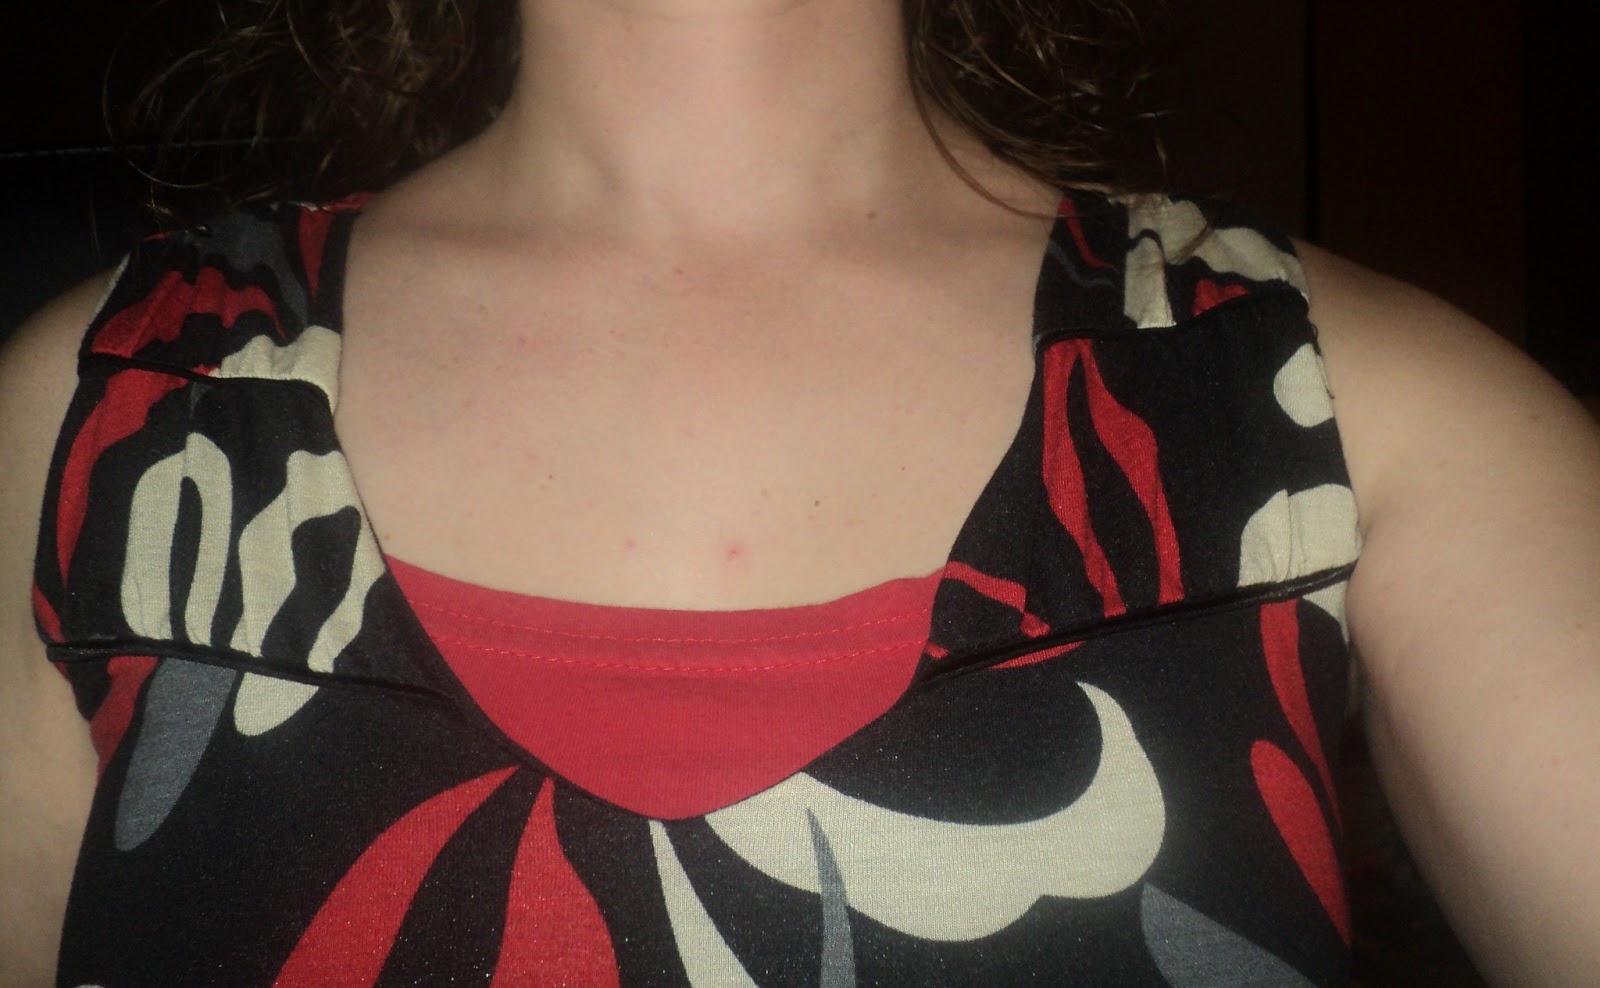
Here I have the cover up adjusted for moderate coverage.

Here I have the cover up adjusted so that it adds just a little extra coverage.

Here I have the cover up adjusted so that it offers full coverage.
I hope that this tutorial has been helpful and that you find it easy to follow. If you have any questions or suggestions on this project or any others that you'd like me to try please leave a message in the comment section. Thanks for taking a look and for all of the support.