
Here is everything that comes in the kit. We did not find the knife, scalpel or tweezers of use.

Here are the various pieces of brain that will need to be put together, I will give a few details about what each piece is and how they function later.

These are all of the pieces of Skull that will need to be put together.

The orange piece represents the spinal cord. Attach the spinal cord to the base and place the vertebrae on the spinal cord.

Next you attach the Occipital bone on the spinal cord. This bone makes up the lower back section of your skull.

Now you attach the left and right Temporal Bone on the sides of the Occipital bone. These bones make up the lower sides of your skull.

Now you are ready to attach the face of the skull. This piece includes the Sphenoid, Ethmoid and 13 other smaller bones as well as the eyeballs. These pieces are all together as one piece since these bones are small and would make the model much harder to put together as well as less stable.

These little brown pieces are the left and right sides of the Cerebellum. This part of the brain receives signals involving sensation and the intention of movement from the Cortex, then sends out instructions on how to preform the movements. So in other words if you didn't have this part of your brain your body wouldn't know how to preform even the simplest movements needed to move your fingers to scratch an itch.
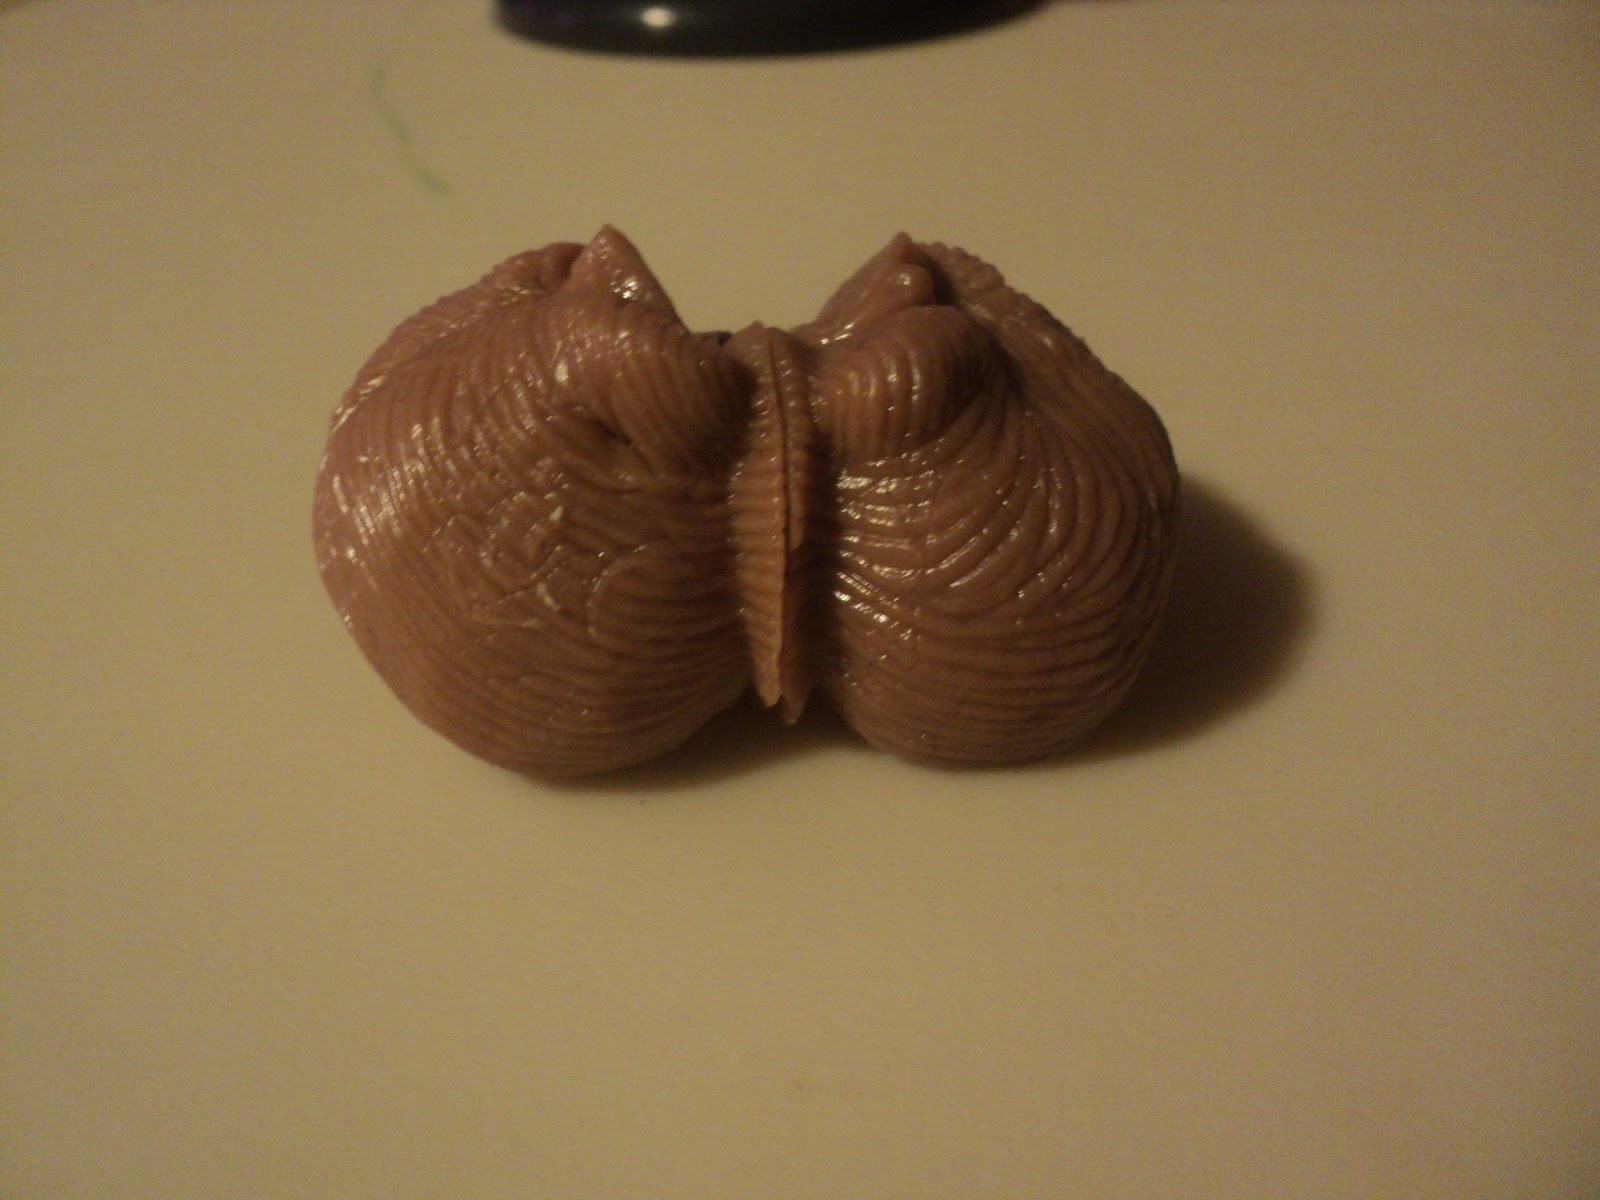
Place these pieces together, all of the pieces of the brain are a little sticky so they will hold together.

Here are the two lower pieces of the Cerebrum, this is the largest part of your brain. The two pieces make up the left and right hemispheres. The left hemisphere usually specializes in functions involving arithmetic, language, and verbal memory. The right hemisphere usually specializes in functions involving music, interpreting the things you see and nonverbal memory.

Attach these two pieces together by inserting the peg into the hole.

These two pieces are the top of the Cerebrum. Both the left and right hemispheres of the Cerebrum are split up into four Lobes. They are the: Frontal Lobe, which deals with thought and judgement; Parietal Lobe, which deals with spatial sense and integrating information from your senses; Temporal Lobe, which deals with hearing; Occipital, which deals with vision.

Press these two pieces together, since they are heavier they do not stay together real well until they are attached to the other pieces, to help keep them together you can flip them over so the round side is facing up while assembling the rest of the pieces.

These are the left and right sides of the Brain Stem. Your Brain Stem connects your brain to your spinal cord, in fact as you move down the Brain Stem it becomes the Spinal cord. The top wrinkly part of the Brain Stem is called the Cortex. The Cortex is folded and wrinkly so that tremendous processing power can be stored within the small confines of your skull. The lower section of the Brain Stem is called the Medulla. The Medulla is quite small but is the section that information travels from your brain through your body, telling each and every part of your body what it needs to do.

Place the pieces of the Brain Stem inside the indentations on the top pieces of the Cerebrum.

Now place the bottom of the Cerebrum over the top pieces of the Cerebrum and the Brain Stem. Inside your head these pieces are not separated but in order to build a model of the brain they need to be so that the Brain Stem can be placed inside.

Next place the two pieces of the Cerebellum snugly into the dip of the Cerebrum and up against the Brain Stem.

Now that the Brain is fully assembled place it into the bottom section of the Skull that was assembled earlier, with the Cerebellum towards the back section of the Skull.

These are the left and right Parietal Bones that make up the back half of your skull.

Snap the two Parietal Bones together.

Then attach them to the bottom part of the Skull model and over the Brain. It takes a little stretching and was a little difficult to get properly in place.

Here is a frontal view of what the model looks like at this point.

Now attach the Frontal Bone, covering the rest of the Brain.

Side view

Remove the assembled Skull from the orange Spinal Cord and flip it over. Attach rubber band to the hook on the bottom side of the Skull. Then take the Mandible (lower jaw) and place it into the Sockets (little duvets on the bottom of the Skull, attach the rubber band to the two hooks on the Mandible.

Flip the Skull over and place it back onto the orange Spinal Cord.

Here is a side view of the completed Brain and Skull model.

The Jaw can move up and down with the slight touch of a finger.
Now that I have shown how we put the model together I will share a few of the Brain Facts that Jarett and I found interesting, all of this information was found in the booklet that comes with the kit but I have changed some things into my own wording I will put an * next to everything that I have taken word for word from the booklet. The kit is a Smart Lab product and is called HEADS UP! and is the Brainchild of Ben Grossblatt.
Brain Facts
- At birth you brain is relatively smooth, but as you grow your brain becomes wrinkly.
- As you are likely to know babies go through a faze called babbling or cooing, what you may not realize is that deaf babies go through a similar faze. Deaf babies with parents who use sign language babble with their hands. *Instead of saying"bababa," they repeat certain nonsense hand gestures!
- There are different sections of your Cortex that handle touch signals from the different parts of your body, the *more sensitive body parts have more Cortex devoted to them. *If you were built so that the size of each part of your body matched the amount of cortex devoted to receiving touch information from it, among other parts of your body your lips, tongue and hands would all be huge.
There is a ton of other really interesting information and great facts, making this a great tool to help children learn about and understand the workings of the brain and how the brain makes the body work. There is also a little IQ test sample and a quiz to help you discover if you are a right brained or left brained person. If you are looking for something that is both fun and educational for your child I highly recommend this kit. It was lots of fun to put together and learn about how the brain works. Plus Jarett thinks it makes a cool decoration for his bedroom.
Awesome project. Hope Jarrett enjoyed it. What a great way to learn & have fun at the some time.
ReplyDeleteThis is AWESOME adrianne This is t.j. btw
ReplyDelete